
A single crack or water stain on a wall can turn an otherwise perfect room into a source of daily frustration. Walls are more than just surfaces; they hold up our homes and carry the story of every leak, accident, or structural shift. When they start to show damage, prompt and proper repair is essential for both aesthetics and long-term durability.
Understanding Plaster Damage and Wall Deterioration
Plaster and drywall might seem tough, but they face a daily barrage of threats, moisture, accidental impact, and even time itself. Over the years, minor incidents pile up, often before you even notice the first hairline crack.
Common Causes of Plaster and Drywall Damage
Water leaks rank at the top of the list, whether from a forgotten roof repair, plumbing mishap, or condensation in a poorly ventilated bathroom. Everyday accidents, like moving furniture too quickly or enthusiastic kids at play, lead closely behind. Even natural settling of your home can create stress that fractures both plaster and drywall.
Signs Your Walls Need Repair
Blistered paint, soft spots, visible cracks, and persistent damp patches are all red flags. In some cases, bubbling or discoloration points to underlying mold or structural issues. If you notice any of these, it is time to take action.
Assessing the Extent of Damage for Effective Restoration
Before reaching for a putty knife, determine if you are dealing with a minor blemish or a larger structural concern. Small cracks and nail holes are quick fixes, but widespread staining, crumbling plaster, or sagging drywall often indicate a bigger problem that may require professional intervention.
Preparing for Plaster Repair and Wall Restoration
A flawless repair starts long before you open any joint compound. Preparation is the bridge between a patchy fix and a seamless finish.
Tools and Materials You Will Need
Gather a putty knife, sandpaper, joint compound, plaster patch, painter’s tape, primer, and paint. For larger jobs, consider a hawk and trowel, mesh tape for seams, and protective coverings for floors and furniture.
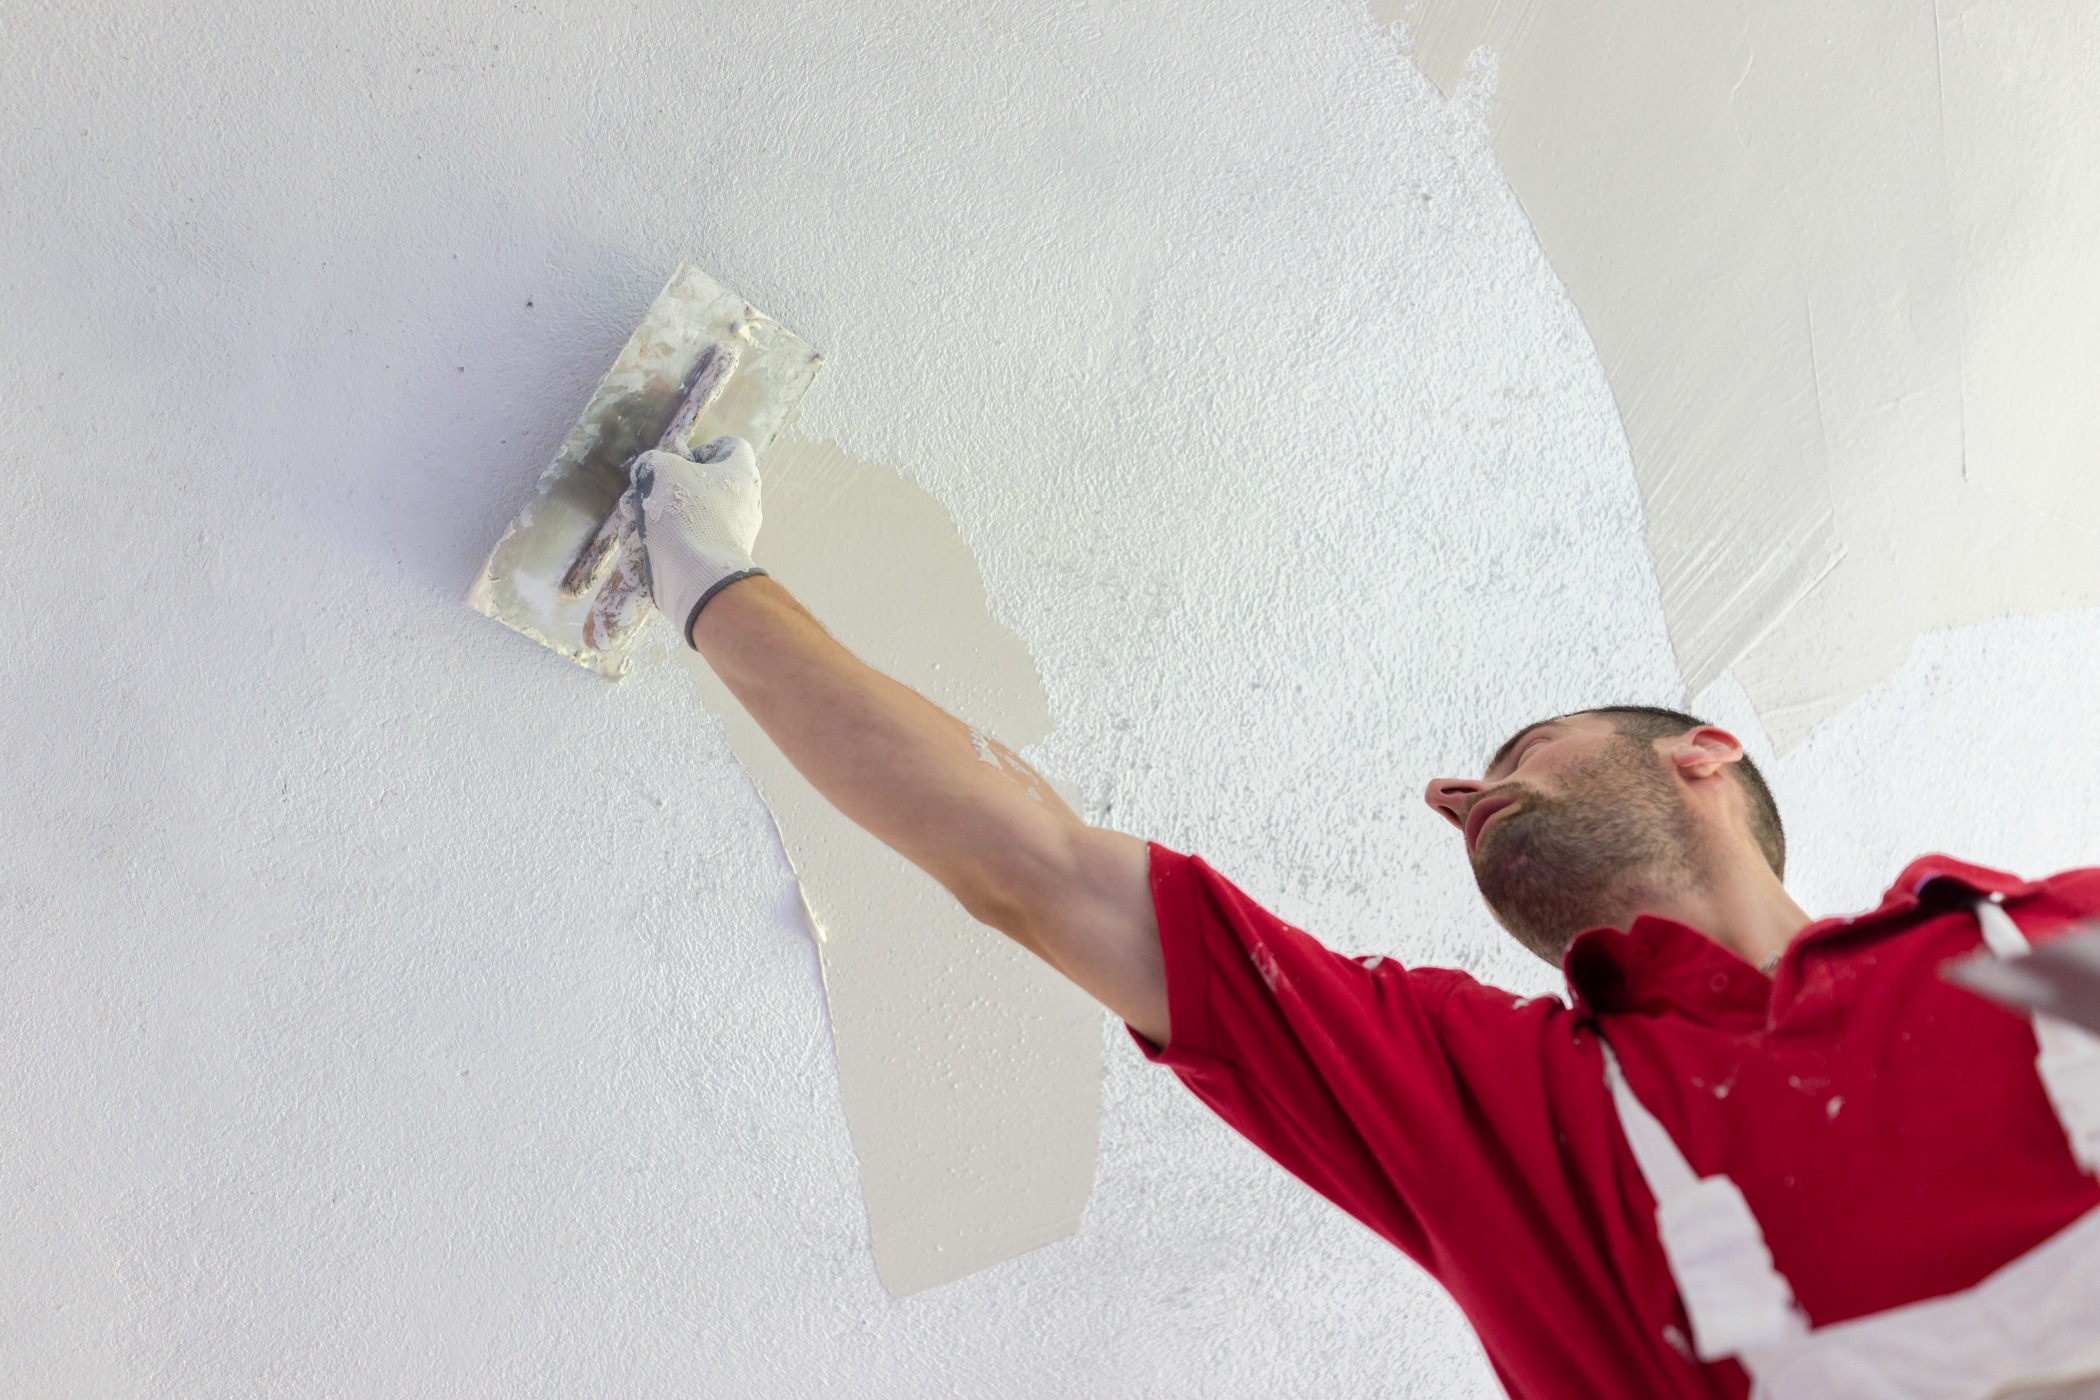
Safety Precautions and Protective Measures
Dust, mold spores, and fumes from adhesives or paint can be hazardous. Always wear gloves, safety goggles, and a dust mask, especially when sanding or scraping. Ensure good ventilation and keep your workspace organized to prevent accidents.
How to Properly Prepare Walls Before Repair
Start by cleaning the surface. Remove any loose plaster or paint chips and address underlying moisture issues. Allow the area to dry completely. For deep cracks or damaged sections, use a utility knife to widen and clean out the gap before applying patching material.
Step-by-Step Plaster Repair Techniques
Not all wall damage is created equal. Different problems demand different solutions.
Repairing Small Cracks and Holes
Fill minor cracks and holes with a flexible filler or plaster patch. Use your putty knife to press the filler deeply into the crack, then smooth the surface. Once dry, sand lightly to achieve a flush finish.
Addressing Water Damage and Mold Issues
Water stains and soft spots signal more than just cosmetic trouble. Thoroughly dry the area, cut away all compromised material, and treat for mold if necessary. Only then should you patch with new plaster or drywall.
Fixing Large Cracks and Structural Crumbling
For extensive cracks or areas where plaster is bulging, stabilize the wall first. Reinforce with mesh tape across the crack, then apply multiple thin layers of joint compound, allowing each to dry before sanding.
Sanding and Smoothing for a Perfect Finish
Always use fine-grit sandpaper to blend repaired areas into the existing wall. Wipe away dust with a damp cloth before priming or painting.
Drywall Repair Essentials
Damaged drywall presents unique challenges, but a systematic approach can make repairs nearly invisible.
Identifying Different Types of Drywall Damage
From simple nail pops to gaping holes left by door handles, the type of damage informs the repair strategy. Small dents require a dab of spackle; larger holes may need a new drywall patch.
Patching Holes and Replacing Sections
For holes larger than a coin, cut a square around the damage and fit in a new piece of drywall. Secure with screws and tape the seams before applying compound.
Seam Taping and Finishing Methods
Proper seam taping prevents future cracking. Use mesh or paper tape, then feather out three coats of joint compound, sanding between layers for a flawless transition.
When to Call a Professional for Drywall Repair?
If you find extensive water damage, mold, or structural issues, turn to a specialist. Local experts like BuildRex plaster repair offer the experience and resources needed for a lasting result.
Choosing the Right Paint and Finishing Touches
Walls are only as good as their final coat. Paint not only beautifies but also protects.
Selecting Paint for Different Rooms and Conditions
High-traffic areas benefit from durable, scrubbable finishes. For damp rooms, pick mildew-resistant paints. Opt for light-reflecting hues in dim spaces to brighten the mood.
Techniques to Match Existing Textures and Finishes
Blending new and old? Experiment with stippling, sponging, or texturing sprays to replicate the original finish. Always test on a hidden spot first.
Tips for Durable and Aesthetic Wall Coatings
Apply a high-quality primer before painting, especially over repairs. Two thin coats of paint usually outperform one thick coat in both appearance and durability.
Preventive Measures and Long-Term Wall Care
Walls will last longer, and look better, if you make prevention a habit.
Moisture Control and Ventilation Tips
Use exhaust fans in kitchens and bathrooms, repair leaks quickly, and maintain gutters to keep walls dry from both inside and out.
Regular Wall Maintenance to Avoid Future Damage
Inspect for early signs of deterioration every few months. Quick touch-ups now can save you from bigger headaches later.
When to Schedule Professional Inspections and Repairs?
If you spot recurring damp patches, persistent cracking, or suspect structural movement, schedule a professional assessment. Sometimes, expert eyes and hands are the best insurance for your home’s integrity.
A sound wall restoration is about more than patching holes; it’s about safeguarding the value and comfort of your space. With the right preparation and a few trusted techniques, your walls can stand strong and beautiful for years to come.
